

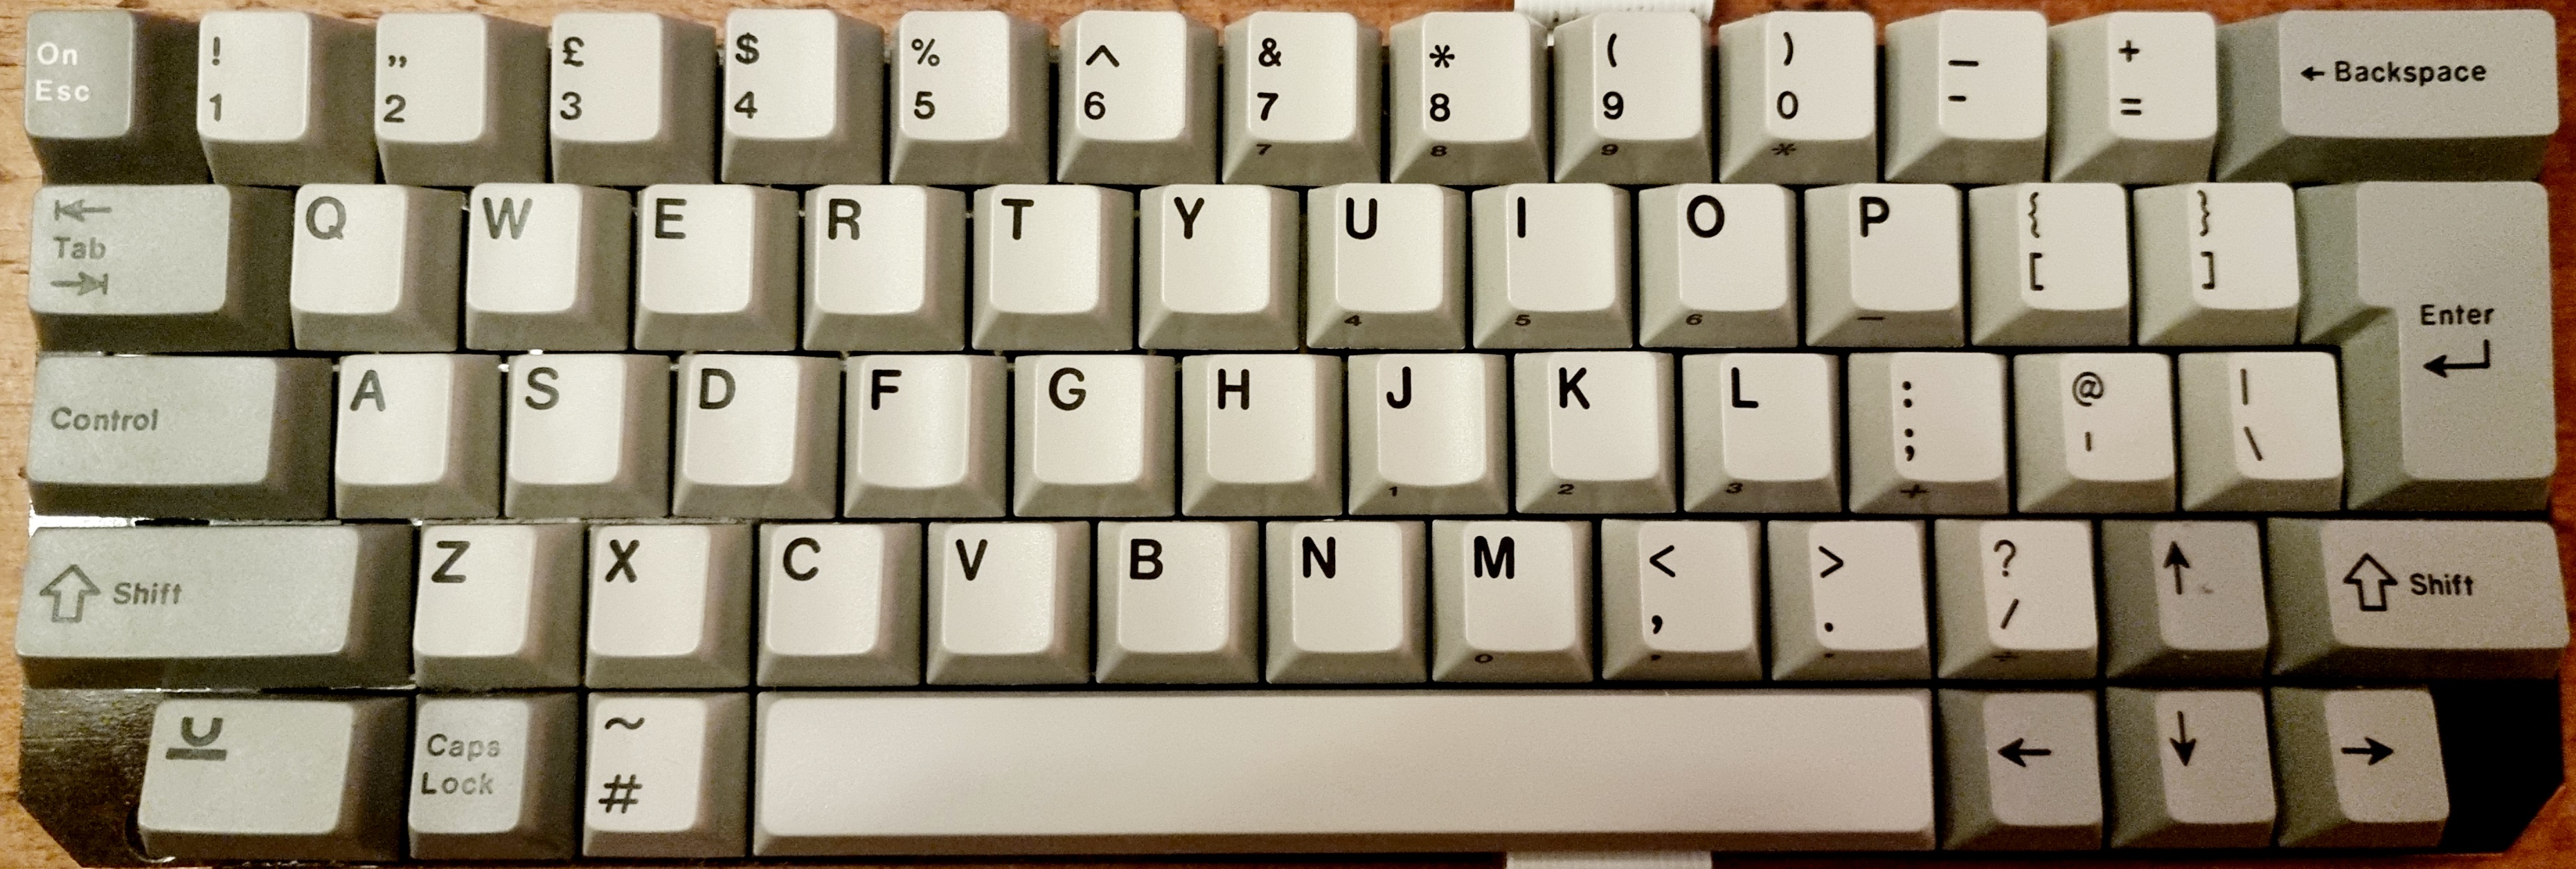
I’ve collected a few Psion MC400s over the last few years that are in a less than perfect condition and one of the things I’d considered for a long time was re-using the machine’s excellent 61-key G60-1600 Cherry mechanical keyboard which uses vintage MX clear switches.

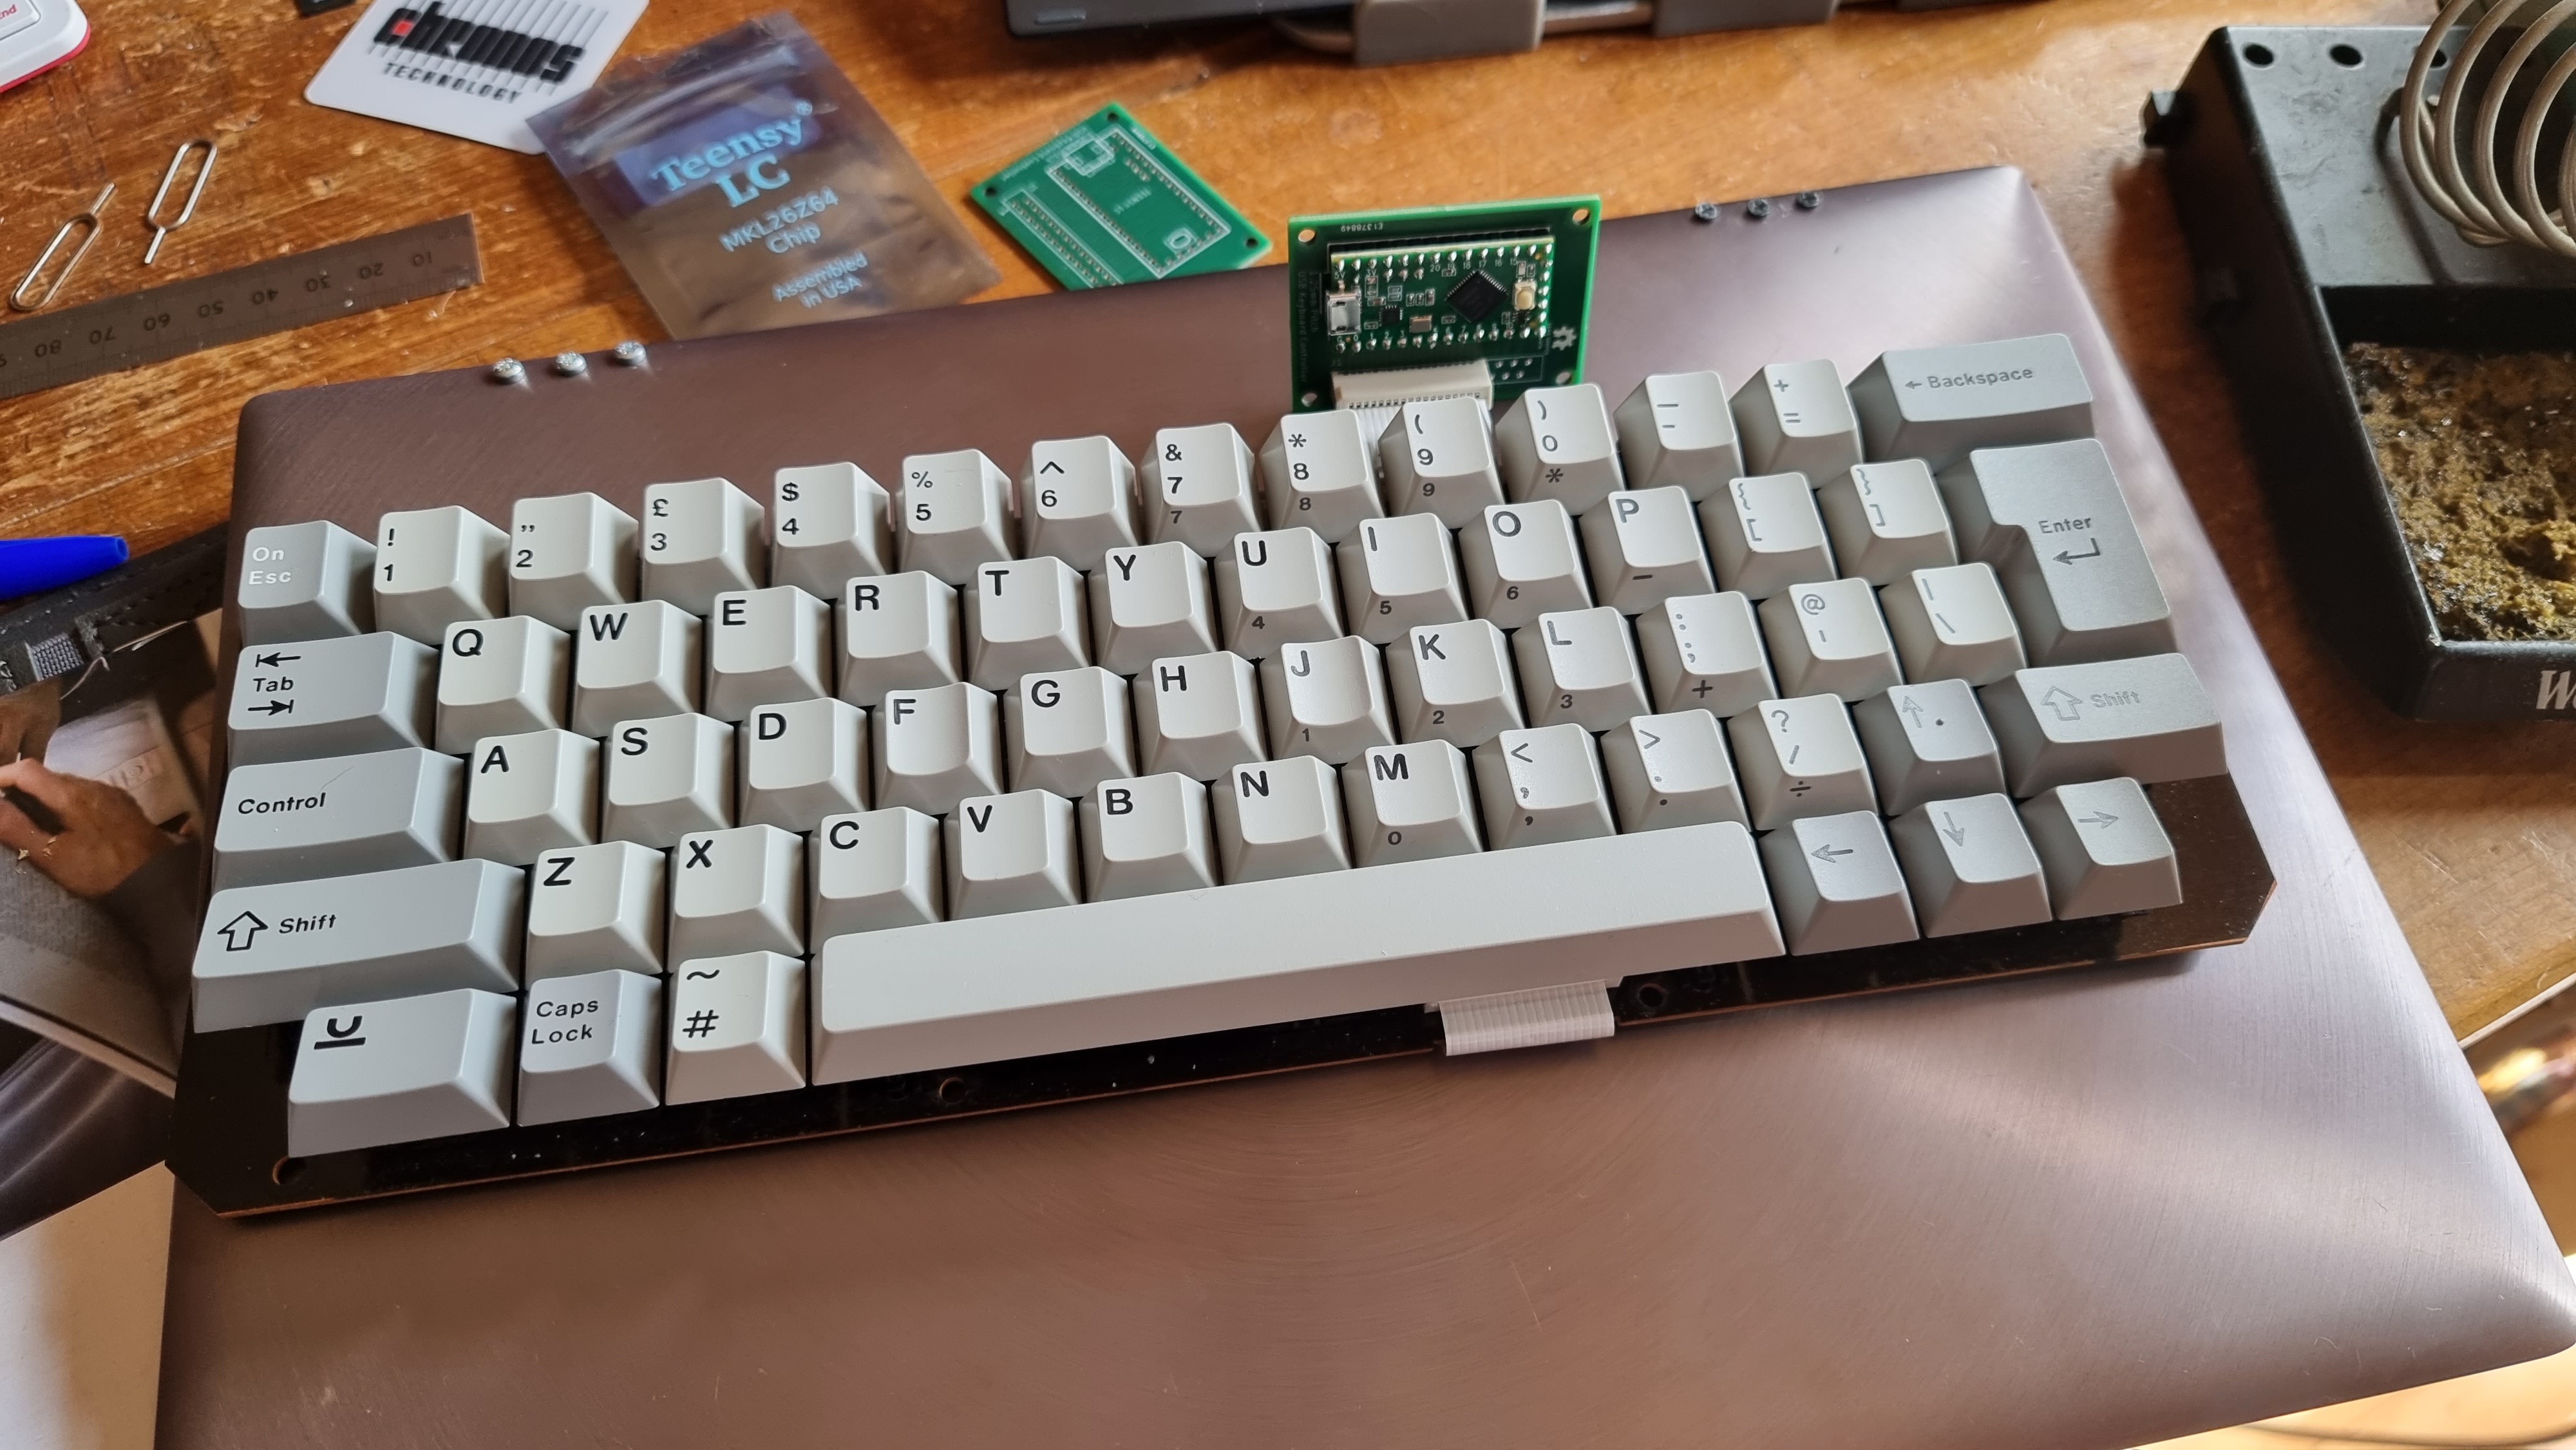
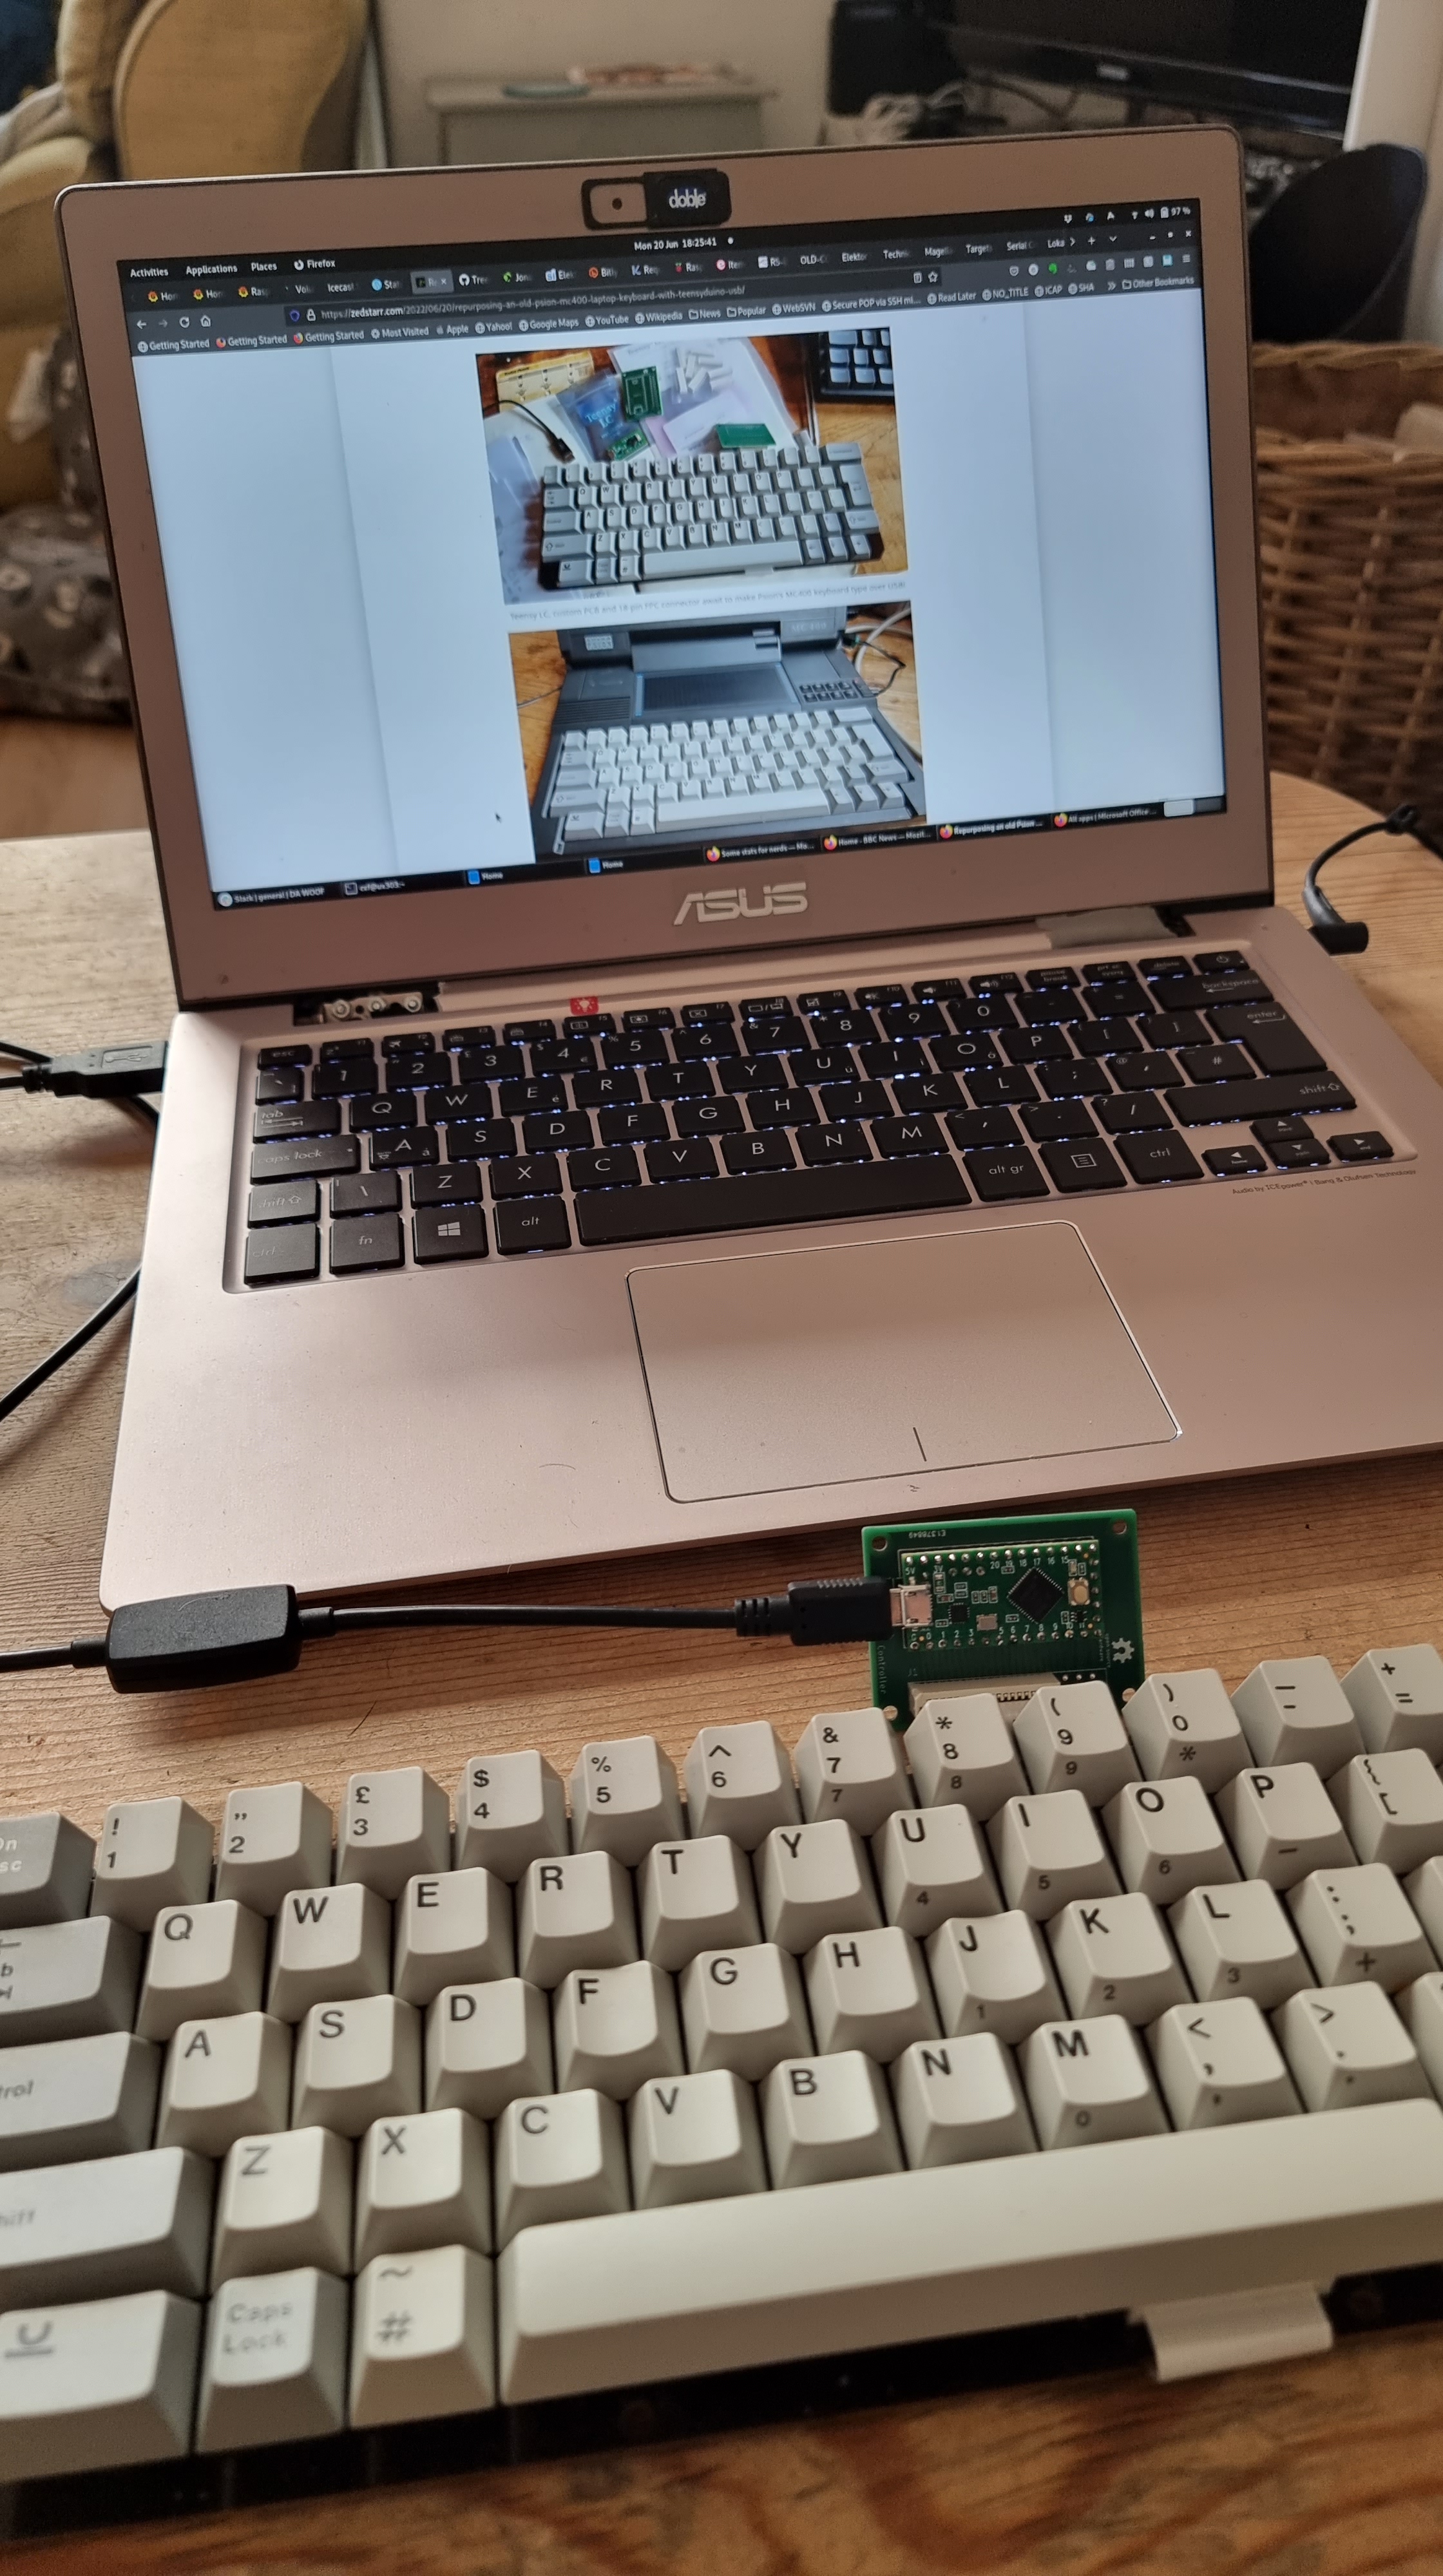
Electrically this keyboard uses the classic matrix of rows & columns to signal which key has been pressed. If we want to use this as a USB keyboard we need a little help translating the row/column signals into USB messages. I discovered Frank Adams’ detailed instructable a while ago, and in 2021 I’d bought the parts and had the PCBs made but it wasn’t until June 2022 that I got around to actually putting it all together – and voila! I’m typing this on an MC400 keyboard right now, hooked up via USB to my trusty old ASUS laptop 😉
The process wasn’t entirely straightforward for this keyboard as it uses an unusual matrix configuration due to the architecture of the machine it came from: the Psion SIBO machines are all completely solid state/SSD with instant suspend/resume and as such the “ESC” key also functions as the “On” key and has 2 dedicated lines to the ASIC that controls both the keyboard matrix decode and the system power. Although the 18 pins in the keyboard’s FPC connector form a 9×9 matrix there are 2 pins just for the On/Esc key so the other 60 keys are served by an 8×8 matrix.

Once the hardware is assembled the process should be relatively straightforward:
- Load the continuity tester sketch to the LC
- collect all the key –> row/column translations by pressing all the keys one by one, the continuity tester outputs which rows/columns are connected
- Either use Marcel’s python or manually produce the key matrix files
- load the matrices into your favourite Arduino IDE, re-programme the Teensy and off you go!
Parts:
Teensy LC microcontroller
PCB – Keyboard_Scanner_LC_thruhole.brd from Frank’s repo
18-pin FPC connector
My Teensy LC Arduino sketch for the MC400 leyboard is available here

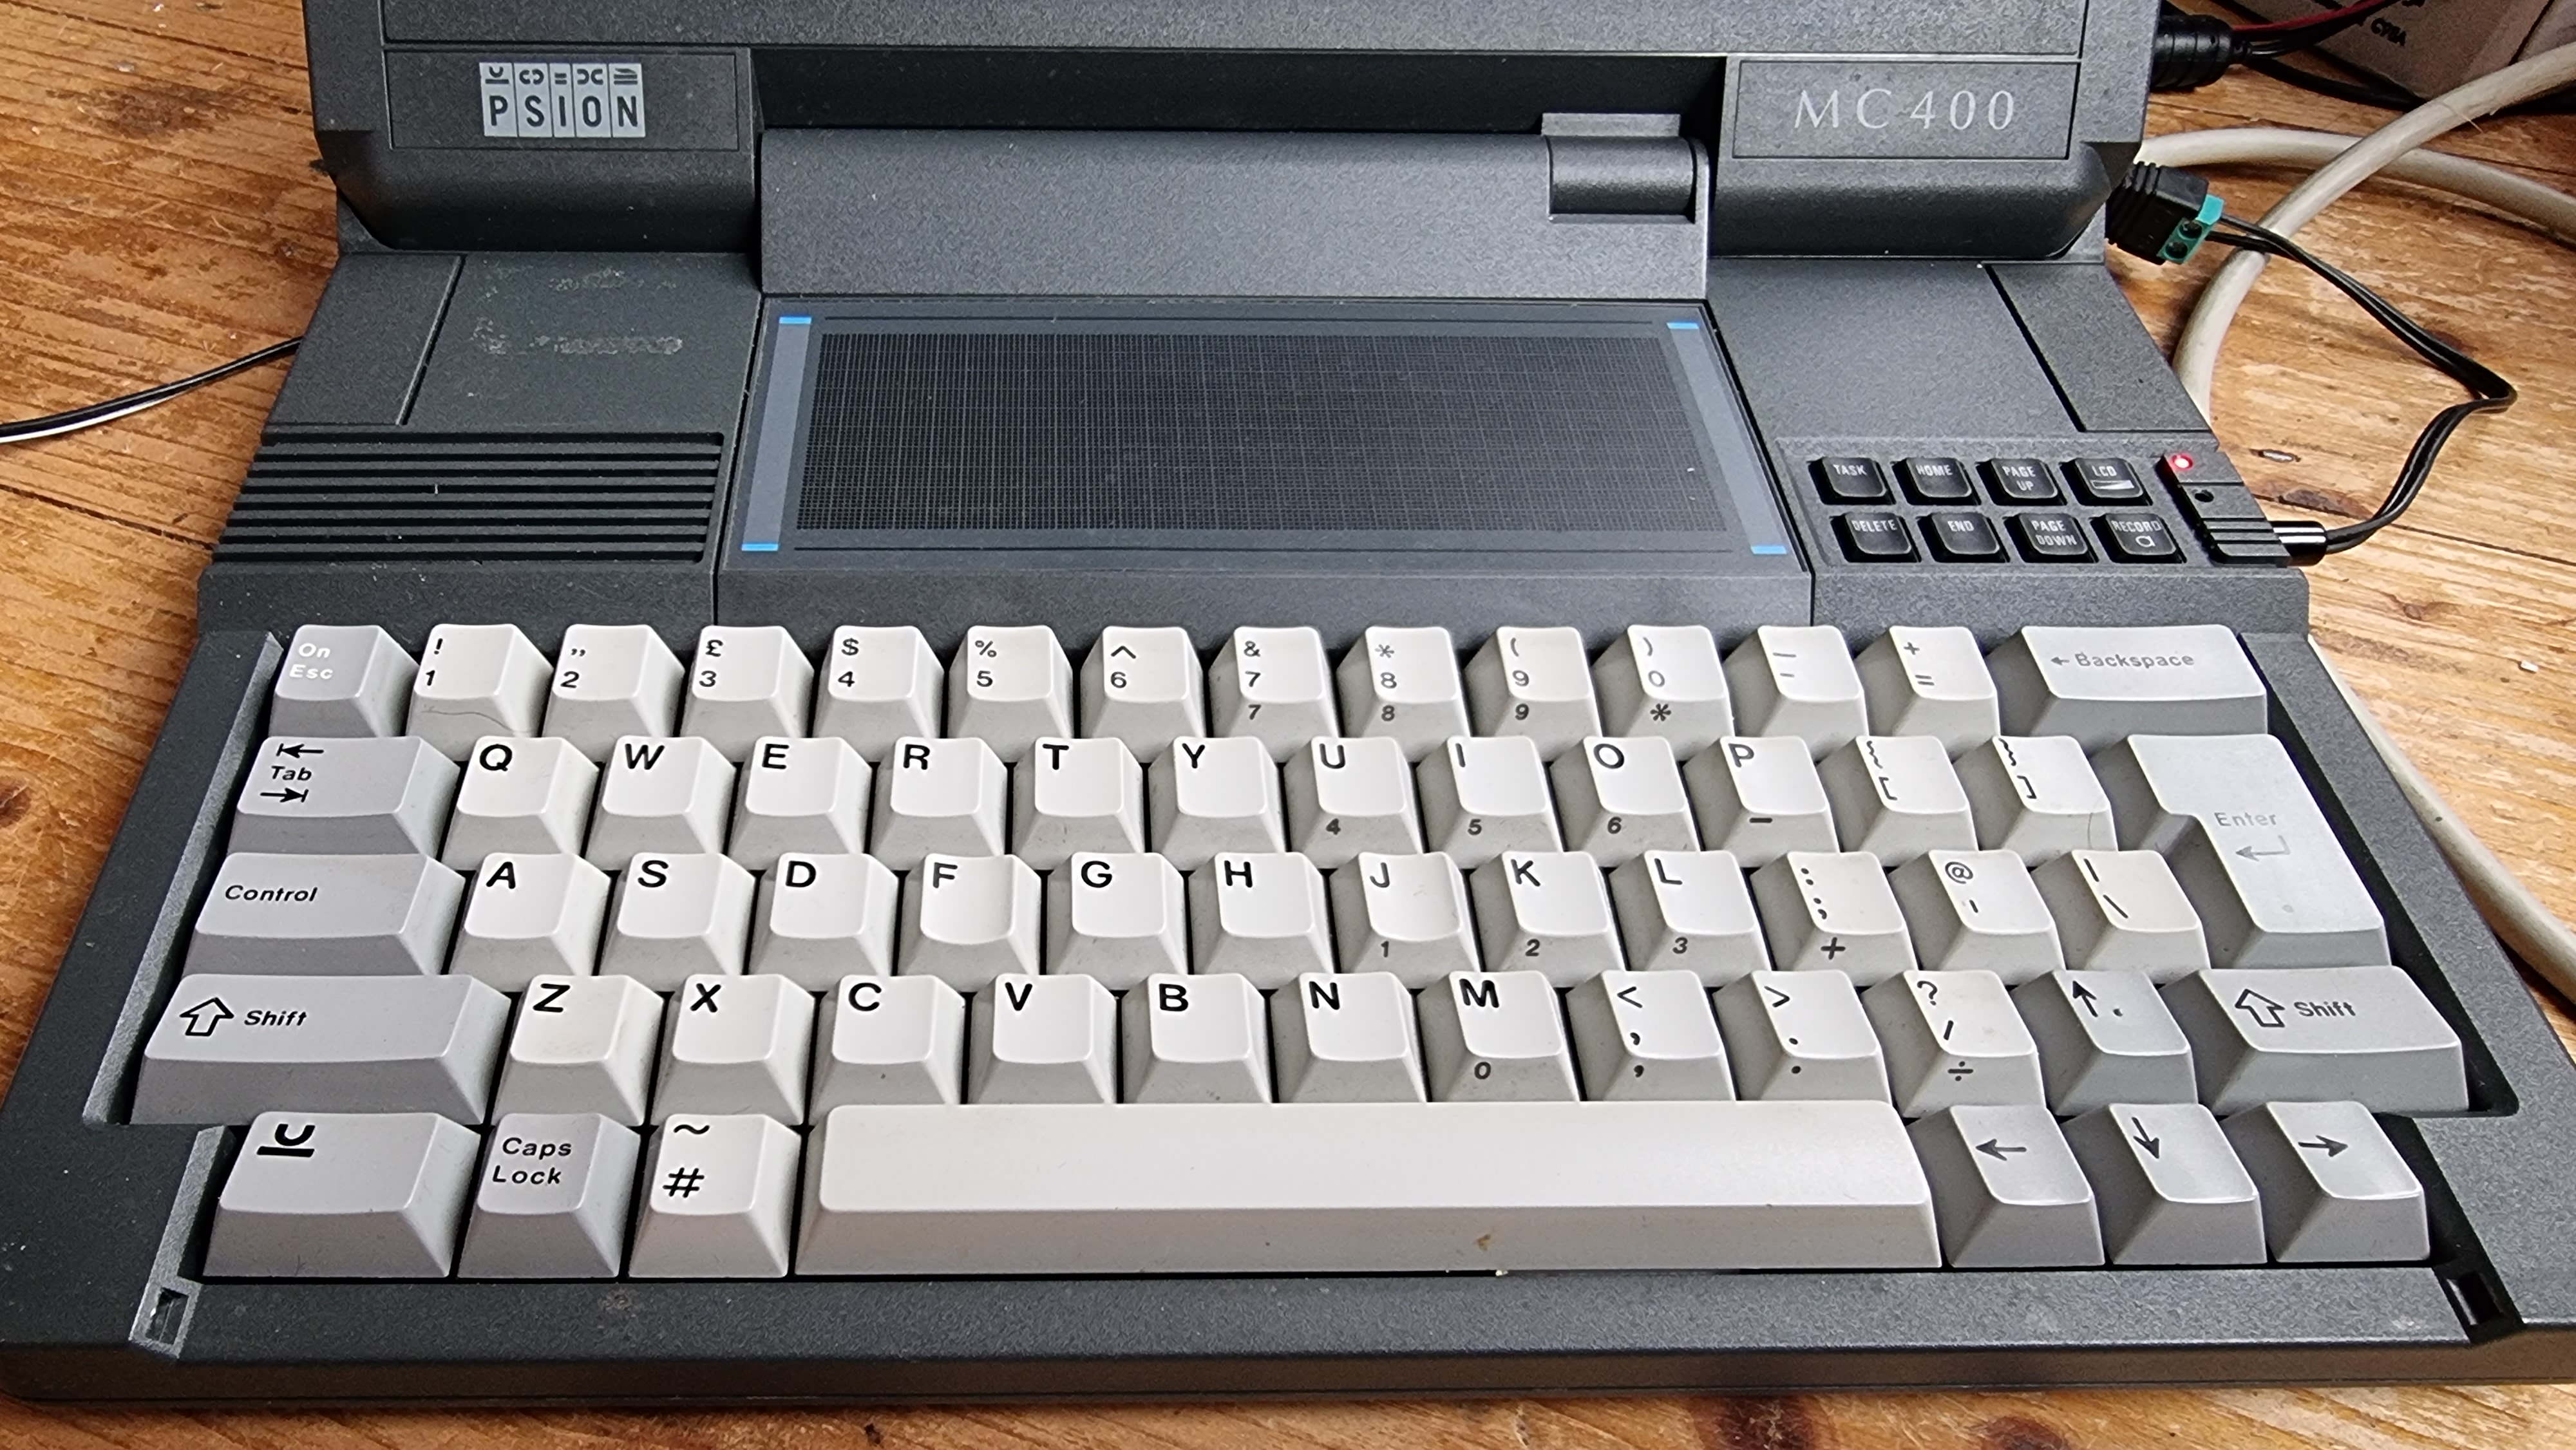
The case-mounted supplementary keypad on the MC400 (Task/Del/Home/End/PgUp/PgDn/LCD/Rec) is wired to share 4 of the main keyboard’s rows with 2 extra columns of its own directly to ASIC2.


4 thoughts on “Repurposing an old Psion MC400 laptop keyboard with Teensyduino & USB”